

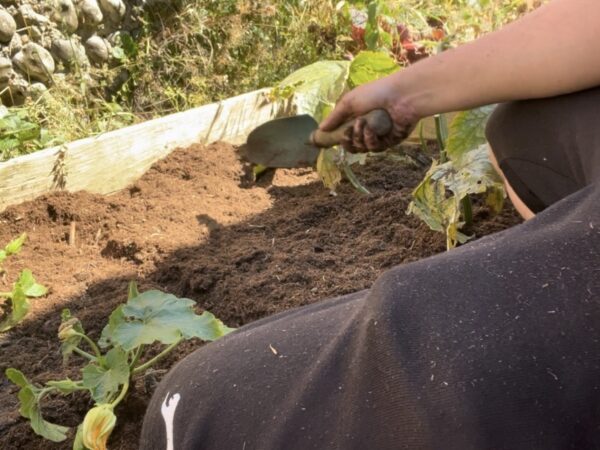
Once mid-summer arrives and your garlic bulbs are pulled and curing, you’re often left with an empty garden bed. But in a self-sufficient garden, bare soil is a missed opportunity!
Leaving soil exposed to harsh summer sun can damage beneficial soil life and allow weeds to move in quickly. By practicing succession planting, you protect your soil structure, maximize your growing space, and secure another fresh crop late into the autumn season.
Here is a step-by-step guide on how to clear, feed, and replant your empty garlic bed for maximum mid-summer productivity.
Affiliate Disclosure: Some of the links on this page are affiliate links. This means that, at no extra cost to you, I may earn a small commission if you click through and make a purchase. I only recommend tools, products, and equipment that I personally use and trust on the homestead. Thank you for supporting the site!
Step 1: Clear and Weed the Bed
After lifting garlic, clear out stray weeds or encroaching plants. Weeding first reduces competition for light and nutrients, giving your new succession crops the best environment to establish.
Step 2: Replenish Hungry Soil
Garlic is a heavy feeder, which means the soil will likely be depleted of nutrients by harvest time.
- Add Fresh Compost: Top up the bed with a generous layer of rich, fresh compost to restore soil structure and essential organic matter.
- Boost with Liquid Feed: Mixing a liquid tomato fertilizer into your watering routine gives established or struggling plants an immediate nutrient boost.
Step 3: Choose the Right Companion Crops
To get the most out of mid-summer planting, pair heavy feeders with fast-growing nitrogen fixers:
- Courgettes (Zucchini): Planting potted courgette seedlings gives you a fast start. Ensure you give them plenty of room, as mature courgette plants spread significantly.
- Meteor Peas: Dwarf pea varieties like ‘Meteor’ are fast-growing legumes. Planting them alongside courgettes provides a dual benefit: you get a autumn harvest of fresh peas before the first frost, and the pea roots help fix nitrogen back into the soil.
Step 4: Trench & Soak Before Planting
Dry summer soil can shock delicate young roots.
- Dig your planting holes or shallow seed trenches (around 1.5 to 2 inches deep for peas).
- Soak the planting holes and trenches with water thoroughly before dropping in your plants or seeds. This locks moisture deep where young roots need it most.
- Gently tease out pot-bound seedling roots, press them into the damp ground, and cover pea seeds with a layer of fresh compost.
Step 5: Protect Against Pests and Wildlife
Newly turned soil and tender seedlings are magnets for local pests.
- Barrier Protection: Lay a piece of wooden trellis or netting flat across the bed temporarily. This deters neighborhood cats or foxes from digging up fresh soil while seeds germinate.
- Slug Defence: Apply an unbroken barrier ring (such as organic slug gel or wool pellets) around the base of tender young stems. Ensure there are no gaps in the ring, as slugs will quickly find any unprotected entry point! https://amzn.to/4y133w4