

Disclaimer: This post contains affiliate links. If you make a purchase through these links, I may earn a small commission at no extra cost to you. I only recommend tools and resources I personally use and trust.
If you want to dive deeper into the incredible world of mushroom cultivation, I highly recommend checking out the experts who inspired this project.  Get their practical book “Project Mushroom” on Amazon:https://amzn.to/4enG1qo
Growing your own gourmet food at home doesn’t have to stop at traditional vegetable patches. One of the most rewarding, low-maintenance additions you can make to your urban homestead is a dedicated mushroom patch.
Recently, I attended a brilliant talk at the Arcade Bookshop in Littlehampton by the Caley Brothers, a local UK company specializing in all things mushrooms. Their expertise completely inspired me to try something new, and today I’m taking you step-by-step through how I built a permanent Grey Oyster Mushroom bed right in my own garden.
Before diving into the written guide below, you can watch the entire build process in action here:
Choosing the Perfect Location
Mushrooms have completely different environmental needs compared to your standard backyard vegetables. They don’t want blistering, direct all-day sunlight. Instead, they crave shelter and consistent moisture.
For my setup, I repurposed a compact, budget-friendly Aldi raised bed (measuring roughly 1 meter by 0.5 meters) that I bought a couple of years ago. I positioned it right at the base of my compost heap. This spot is fantastic because:
- It provides a natural windbreak and partial shelter.
- It still receives natural rainfall to keep the bed hydrated.
- It gets just enough ambient light without drying out.
 Materials Checklist
 Materials Checklist
To build your own backyard mushroom patch using the “lasagna layering” method, you will need:
- Cardboard: Clean, unprinted cardboard boxes to line the base.
- Rainwater: Fresh water captured from your home water butt (mushrooms thrive on natural rainwater).
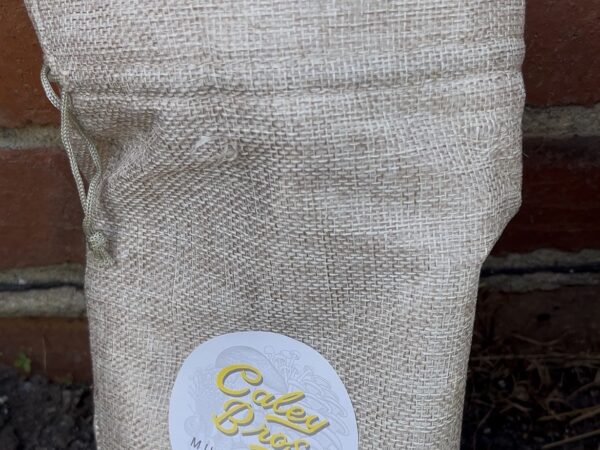
- Spawn Substrate: High-quality mushroom culture (I used Grey Oyster Mushroom spawn on wood pellets, sourced from the Caley Brothers).
- Straw: A simple compressed bag of straw from your local pet shop goes a long way.
- Animal Barriers: Wire mesh or netting panels if you have local cats or pests.
Step-by-Step Build Guide: The “Lasagna” Method
 Step-by-Step Build Guide: The “Lasagna” Method
Step 1: Suppress Weeds and Pests
Start by cleaning out the area inside your raised bed. If you uncover slugs or other backyard pests during this step, relocate them to your compost bin to help break down organic matter. Remember, on the homestead, we work with nature, not against it!
Lay a clean sheet of thick cardboard directly at the bottom of your bed. This serves as a natural weed suppressor and creates a clean baseline barrier.
Step 2: Souse the Base
Everything to do with mushrooms revolves around moisture—they absolutely hate being dry. Grab your watering can filled with fresh rainwater and thoroughly drench the cardboard base until it is completely soaked.
Step 3: Layer the Straw
Add your first layer of straw over the wet cardboard. Because pet shop straw is tightly compressed, break it apart with your hands to make sure it covers the surface evenly.
Step 4: Crumble the Mycelium
Open up your mushroom culture package. Take the mycelium chunks and evenly crumble them directly over the entire straw layer. If you pull out any large clumps, break them down into finer bits with your fingers so the spores distribute evenly across the bed.
Step 5: Souse and Repeat (The Lasagna Method)
Once your spawn is laid down, grab your watering can and give it a heavy soaking.
From here, you simply repeat the process in layers:
- Add another layer of straw.
- Inoculate it with more crumbled mycelium.
- Give it a thorough watering.
- Repeat until your raised bed is completely filled.
Step 6: Secure Against Pets
If you have local neighborhood cats or pets that love digging up freshly turned soil and garden beds, you need a quick insurance policy. Place a couple of wire mesh panels over the top of the finished bed. This lets the light and rain through perfectly while keeping curious paws out so the mycelium has a chance to safely bed in.
Homestead Hack: Intercropping in Planters!
 Homestead Hack: Intercropping in Planters!
If you don’t have space for a dedicated raised bed, you can still grow gourmet mushrooms using your existing container plants.
To maximize my harvest potential, I experimented by adding the remaining Grey Oyster spawn directly into my cucumber planters. I layered a ring of straw around the base of the cucumber plant, crumbled a layer of mycelium over it, topped it with a final layer of straw, and gave it a good soak. The heavy watering routine that cucumbers already require creates the ultimate humid microclimate for the mushrooms to grow alongside them!
What’s Next?
 What’s Next?
With the British weather remaining mild and damp, this bed is perfectly set up to establish itself over the coming weeks. I’ll be keeping a close eye on the moisture levels to ensure it never dries out.
If you want to follow along with the progress of this bed, see the final harvest, and get more practical tips on urban self-sufficiency, make sure to Subscribe to the Urban Living Homestead YouTube Channel!